
Eighty-one percent of customers prefer brands that offer a personalized experience. That means delivering the right message at the right time is not just a goal but a necessity for effectively engaging users. Branch Journeys smart banners are a powerful tool that allow brands to deliver highly-targeted messages and calls to action (CTAs) throughout the user journey, optimizing conversion rates and enhancing user retention. In this blog, we explore advanced techniques — dynamic text localization and template customization — to elevate your Branch Journeys. These methods will help you create personalized, engaging experiences that resonate with your audience and drive meaningful interactions.
Note: If you’re new to Branch Journeys, check out these best practices and tips for getting started. Once you have the basics down, come back to this blog.
Use Case 1: Dynamic localization of Journeys text with Branch Web SDK
Catering to diverse audiences is essential for digital success. As your business expands to new demographics, markets, and channels, speaking the same language as your users becomes increasingly important. This is true across every and any touchpoint — from website content to email communications, and especially within pivotal user interactions like web-to-app transitions.
Branch Journeys smart banners allow you to deliver tailored messages to users, effectively guiding them towards a desired action or conversion. But to truly resonate with global audiences, it’s essential to localize the text within your Journeys.

The good news is: You can use the Branch Web SDK to dynamically customize Journey text based on the user’s language preference. Follow these two steps:
- Use the setBranchViewData() function: This function allows developers to set custom data for Journeys, including text elements like titles, descriptions, and buttons.
- Read the browser’s language: By detecting the user’s language preference through the browser, you can dynamically adjust the Journey’s text to match their language.
Sample JavaScript code:
Let’s explore a sample JavaScript code snippet illustrating how to implement this localization:
var lang_code;
// Detect the user’s language preference
if (navigator.languages && navigator.languages.length > 0) {
lang_code = navigator.languages[0];
} else if (navigator.language) {
lang_code = navigator.language;
}
// Change Journeys text if language is Spanish (ES)
if (lang_code == ‘es’) {
branch.setBranchViewData({
data: {
“$journeys_title”: ‘Mi App’,
“$journeys_description”: ‘Mi descripción’,
“$journeys_button_get_has_app”: ‘Abrir’,
“$journeys_button_get_no_app”: ‘Ver’,
}
});
}
Here’s how it works: The code first detects the user’s language preference using the navigator.languages and navigator.language properties. It also uses localization logic. In this example, if the detected language is Spanish (‘es’), the text elements within the Journey are replaced with their Spanish counterparts using setBranchViewData().
Key takeaways
By leveraging advanced techniques like dynamic text localization within the Branch Web SDK, you can create immersive and inclusive experiences for users. You’ll forge stronger connections and, in turn, achieve greater success. You and your customers will benefit from:
- Personalized user experiences: Localizing Journeys text enhances the user experience by presenting content in a language familiar to the user.
- Dynamic adaptation: Browser language detection ensures that the localization process is dynamic and responsive to each user’s preferences.
- Global reach: With localized Journeys, you can effectively engage users across different linguistic regions, driving higher conversions and retention rates.
Use Case 2: Dynamic templates using liquid tags
Most brands know that users expect personalized experiences, but the challenge lies in delivering personalized and engaging content at scale and on the fly. That’s where liquid tags come in.
Liquid tags are placeholders within your Journeys template that can be dynamically replaced with data, allowing for real-time customization of your content and ensuring each user receives a tailored experience. You can use liquid tags in both the View Editor and CSS Editor, which provides extra flexibility in how you design and present your content.
The instructions below will guide you through the process of using liquid tags to dynamically set banner designs, control template content, and enhance user engagement.
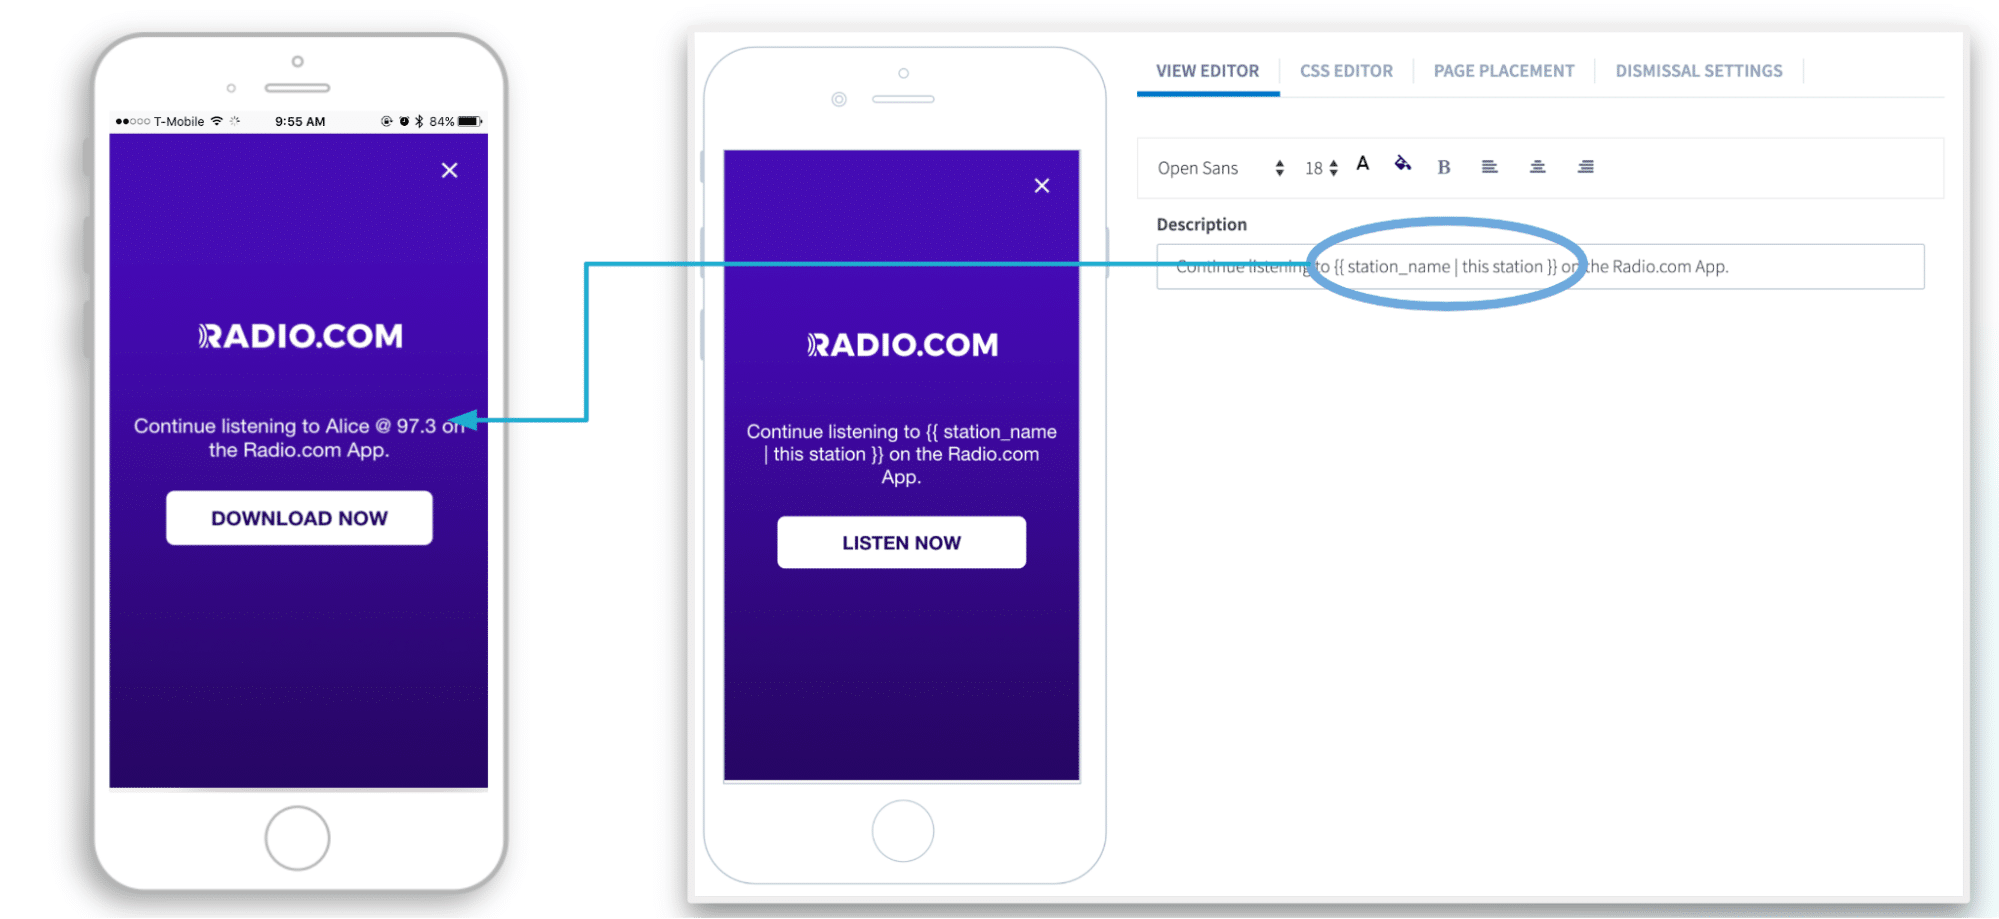
Using predefined keys and custom liquid tags
Branch Journeys provides predefined keys, such as $journeys_title, to dynamically customize the appearance and content of your templates. However, you can also create custom liquid tags to meet your specific needs. To do this, insert tags using the format {{ key_name | default_value }}. For example, to dynamically control the title font size in your Journey, you might add the tag {{ fontSize | 12px }} in the CSS Editor.
Example of custom liquid tags in action
Suppose you want to dynamically update the font size and a descriptive adjective in your Journey’s creative. Here’s how to set up your template:
CSS Editor
Add the custom liquid tag for font size: {{ fontSize | 12px }}

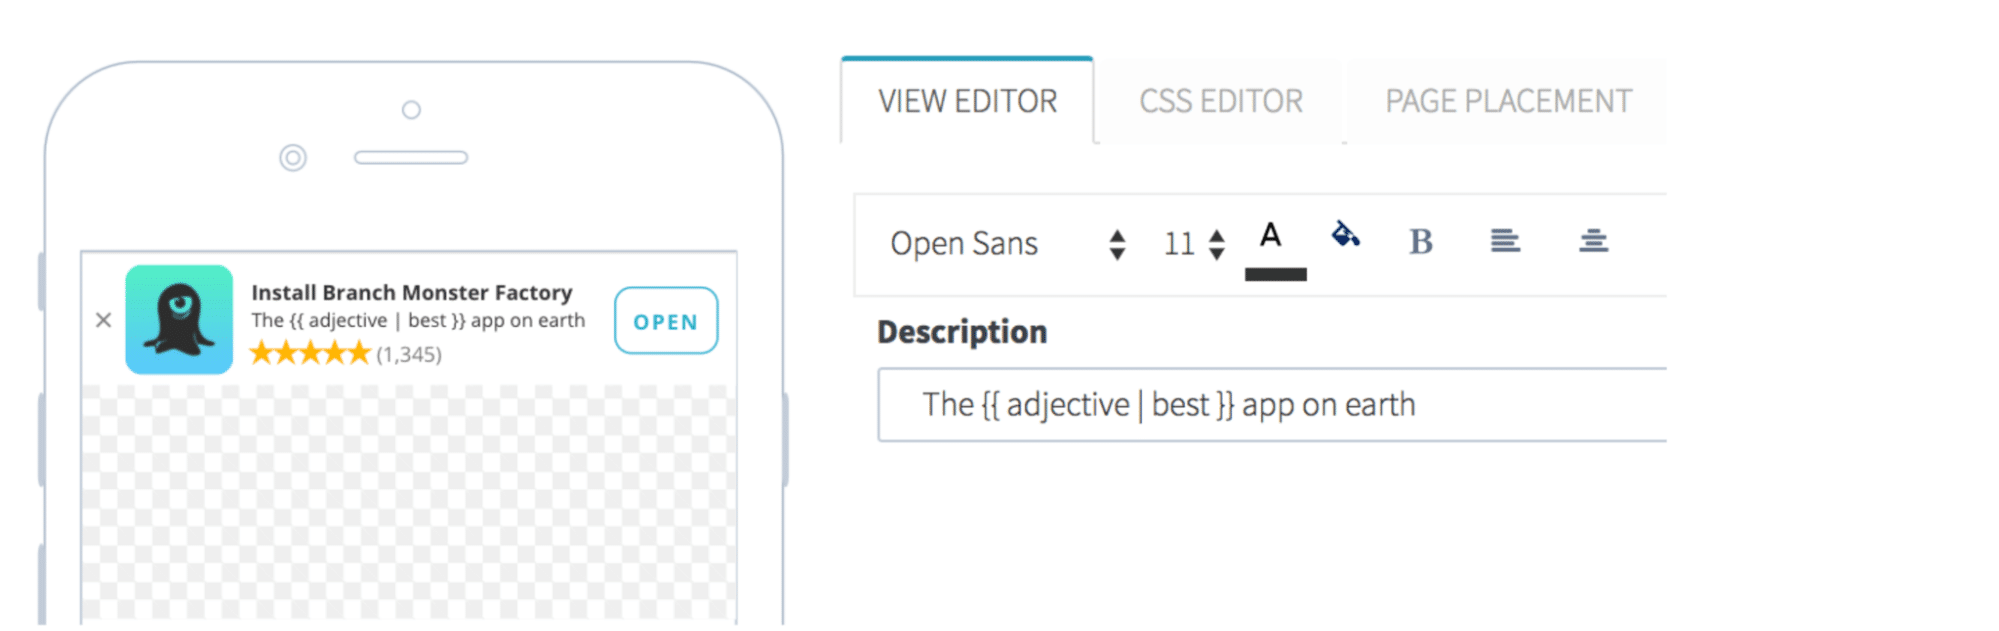
View Editor
Insert a custom liquid tag in your text: {{ adjective | best }}
To dynamically update these values, use the setBranchViewData() method of the Branch Web SDK:
Javascript
branch.init(…);
branch.setBranchViewData({
data: {
‘fontSize’: ’20px’,
‘adjective’: ‘most entertaining’,
}
});
You can also set these values by embedding Branch meta tags directly on your page:
HTML
<meta name=”branch:deeplink:fontSize” content=”20px” />
<meta name=”branch:deeplink:adjective” content=”most entertaining” />
JavaScript dynamic banner designs
In addition to liquid tags, you can dynamically set banner designs using JavaScript. With the setBranchViewData() method, you can control various design elements on the fly, making it easy to test different layouts and styles or to respond to real-time user behavior.
For instance, imagine you’re running a promotional campaign and want to highlight unique selling points to different user segments. You can use liquid tags and JavaScript to dynamically customize the banners for each segment:
- Identify key variables: First, determine the variables you want to customize (e.g., font size, color scheme, promotional text).
- Insert liquid tags: Add these tags to your template.
- Set dynamic values: Use setBranchViewData() or Branch meta tags to dynamically set these values based on user data or other criteria.
Key takeaways
By embracing the power of liquid tags, you can ensure your content is always relevant, appealing, and perfectly tailored to your audience’s needs. Whether you’re quickly tweaking a design with JavaScript, dynamically setting content through metadata, or using predefined keys for essential customizations, liquid tags offer unparalleled flexibility and control.
Next steps
By implementing these advanced techniques, you can drive higher web-to-app conversions and take your marketing campaigns to the next level. For assistance, reach out to your account team.
To get started with Branch Journeys, request a demo with our team!