Key takeaway:
Customers who want precise control over event forwarding between mParticle and Branch can create rules to determine exactly which events to send.
Branch offers several powerful integrations with mParticle, including the mParticle Data Integration and mParticle Branch Kit. With the Data Integration, you can forward events tracked via the Branch software development kit (SDK) to mParticle, allowing you to view them alongside your existing analytics data. You can also import events tracked via the mParticle SDK into Branch. The mParticle Branch Kit simplifies the process further by enabling Branch SDK functionality and automatically sending events to both mParticle and Branch Dashboards.
While these integrations enhance your data, some automatically forwarded events, like content events or user lifecycle events, may not align with your key analytics needs or key performance indicators (KPIs). Plus, they can have cost implications under Branch’s volume credits model, so it is important to manage what data gets sent to Branch.
Filtering events imported from mParticle into Branch
When you set up a Data Integration to import mParticle events into Branch, all commerce, content, user lifecycle, and custom events you track will flow into Branch. To avoid duplicate data, Branch will warn you if you try to import events already being tracked. However, you may want to further specify which events are sent from mParticle to Branch.
Using forwarding rules in the mParticle Dashboard
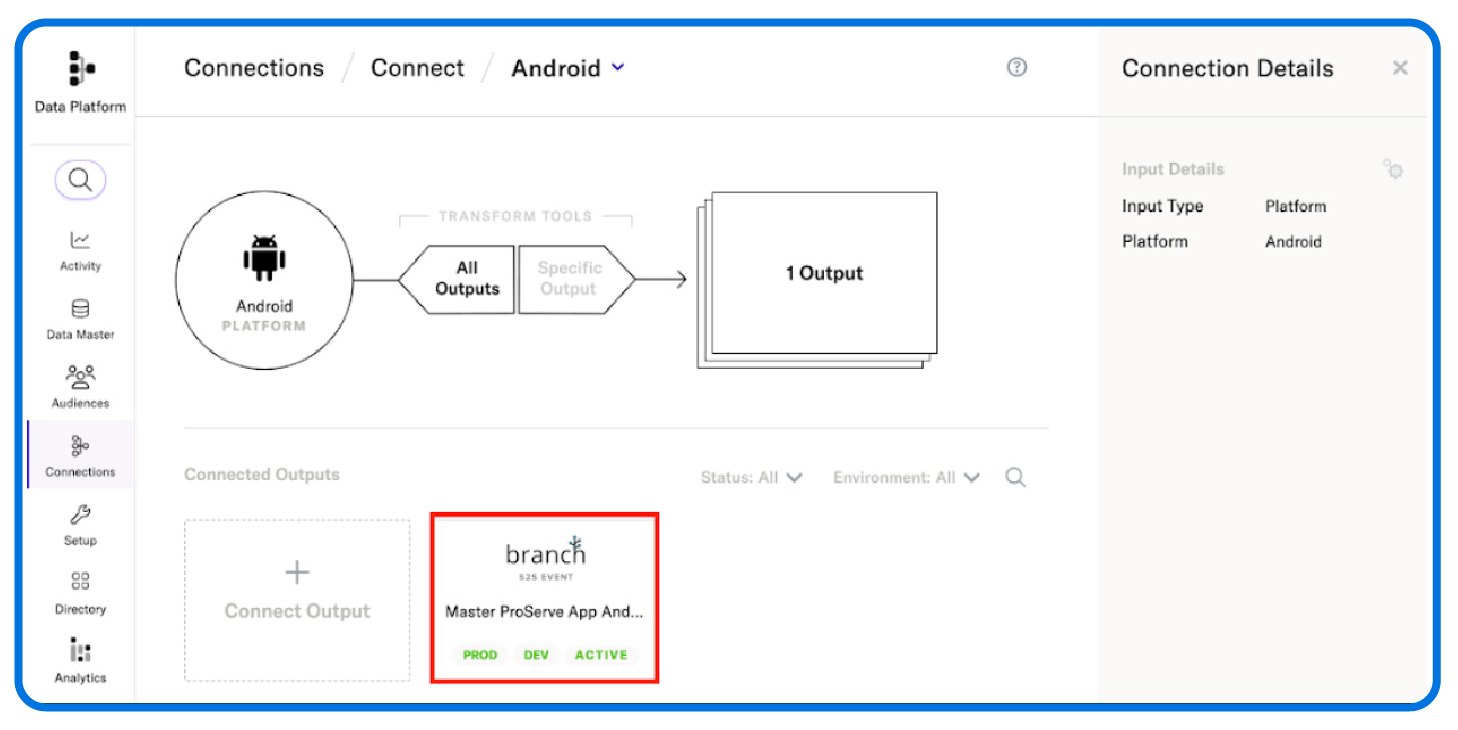
- Navigate to the ‘Connections’ section of your mParticle Dashboard and select your configured Branch output destination.

- After selecting the output, click the ‘Forwarding’ tab to create a rule.

You can create two types of rules:
- ‘Only Forward’ events that meet specified criteria.
- ‘Do Not Forward’ events that meet specified criteria.
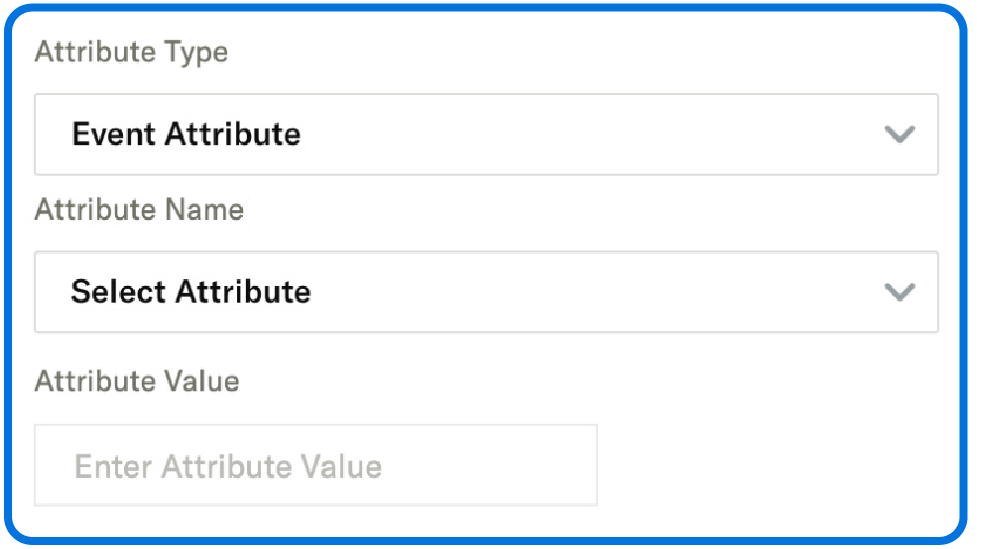
In this example, we’ll leave the ‘Attribute Type’ set to ‘Event Attribute.’ The other option, ‘User Attribute,’ is more relevant when configuring rules around the user info present on the event.
Next, specify the ‘Attribute Name’ (e.g., event_type or event_name) and the ‘Attribute Value.’
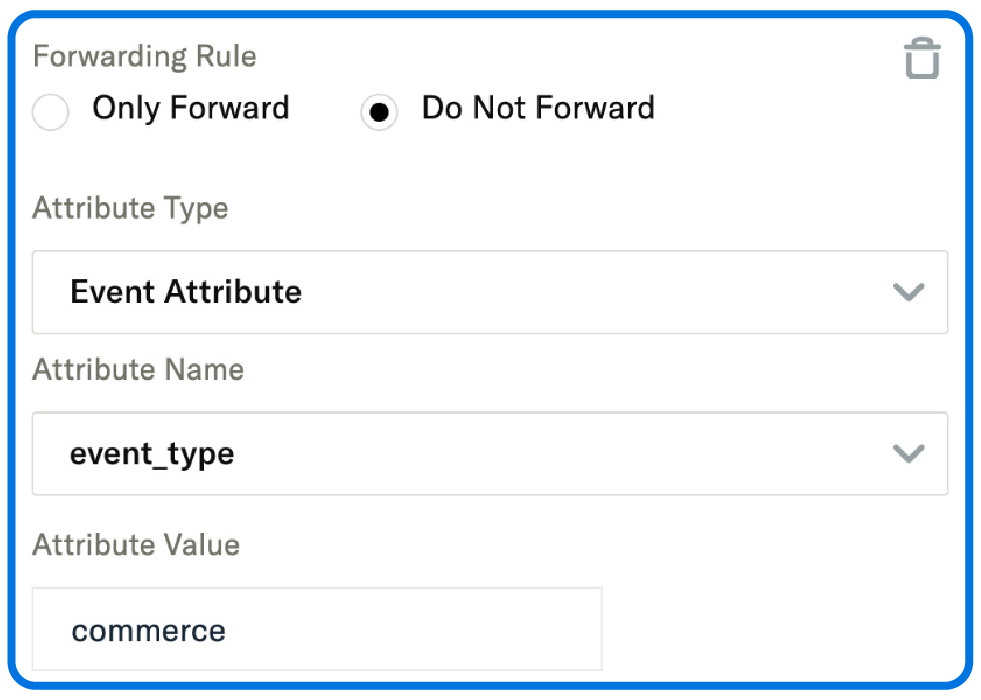
For instance, to prevent commerce events, like ‘Add to Cart’ and ‘Purchase,’ from being sent to Branch, set the ‘Attribute Name’ to event_type and the ‘Attribute Value’ to commerce.
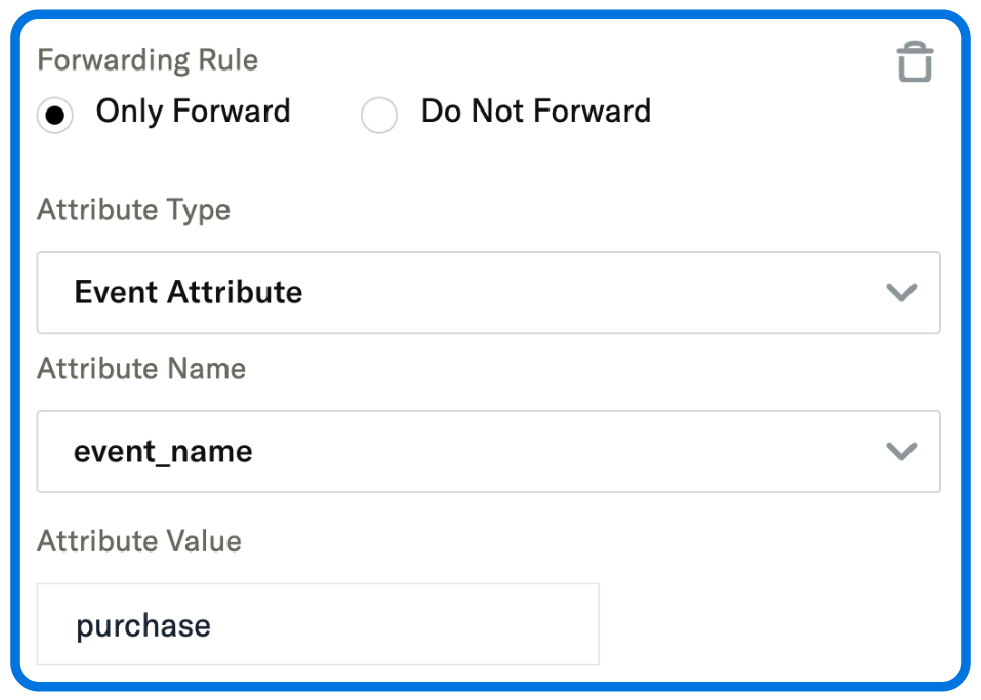
To only send purchase events to Branch, for example, set the rule to ‘Only Forward,’ with the ‘Attribute Name’ as event_name and the ‘Attribute Value’ as purchase.
By setting up these simple forwarding rules, you’ll have more granular control over the data imported from mParticle into Branch, avoid duplicate data issues, and prevent overages in volume credit usage.
Want to learn more about Branch’s integrations with mParticle?
Check out the following help documentation:
- Importing mParticle events into Branch
- Exporting Branch events to mParticle
- Branch SDK integration via mParticle Kit (Android)
- Branch SDK integration via mParticle Kit (iOS)
For troubleshooting assistance with data export setup, reach out to your account team. To get started, request a demo today!


